Windows Snipping Tool
Here is one of the most overlooked but useful utilities in Microsoft Windows. The Snipping Tool was introduced in Windows Vista way back in 2006.
If you need to make sense out of something you see on your PC screen to someone else that is not there to see it then the Snipping Tool is for you.
A picture is worth a thousand words!
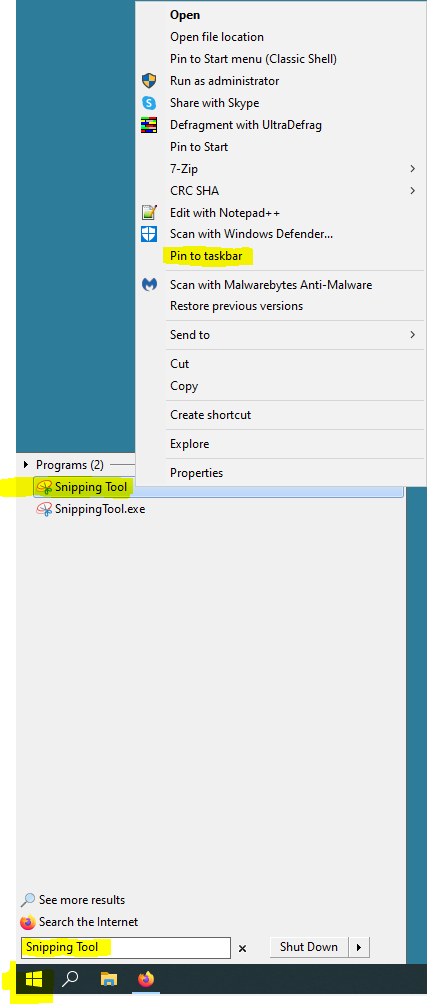
If you have Open Shell installed on Windows 10/11 or running Windows 7, search for the Snipping Tool in the Start menu, right mouse click on the Snipping Tool icon and select "Pin to taskbar".
Select the Start menu and search for the Snipping tool
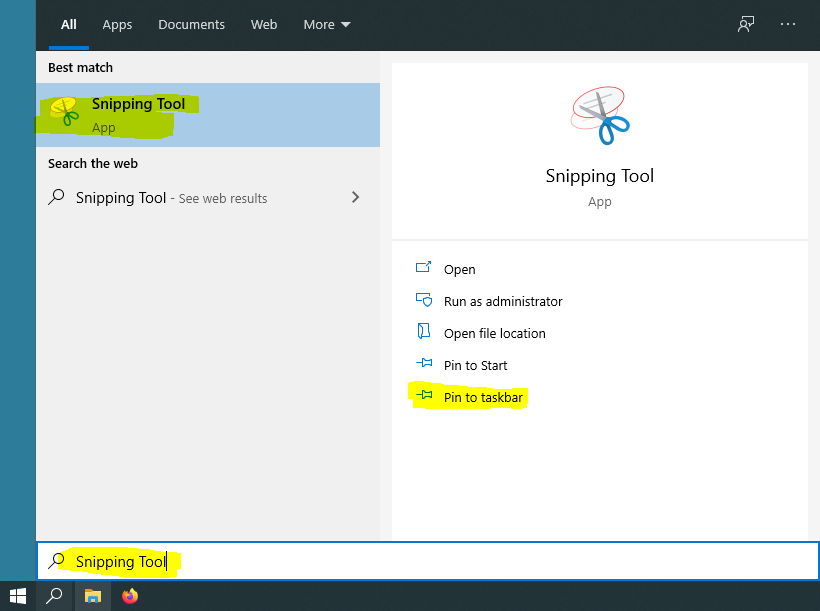
Search for the Snipping Tool in Windows 10/11 using the Taskbar search tool.
Select the Taskbar Search tool and search for the Snipping Tool
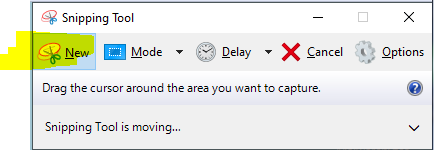
Now launch the Snipping tool from the Taskbar and select New.
The desktop screen will change to a white transparent overlay. Position the mouse cursor on a area of the desktop you would like to capture, left mouse click and hold and drag the mouse on a 45 degree angle (diagonal) movement. The area receding away from the moving mouse cursor will change back to a normal appearance. This is the area being captured. Release the mouse button to capture the selected area. The captured image will appear in the Snipping Tool editor.
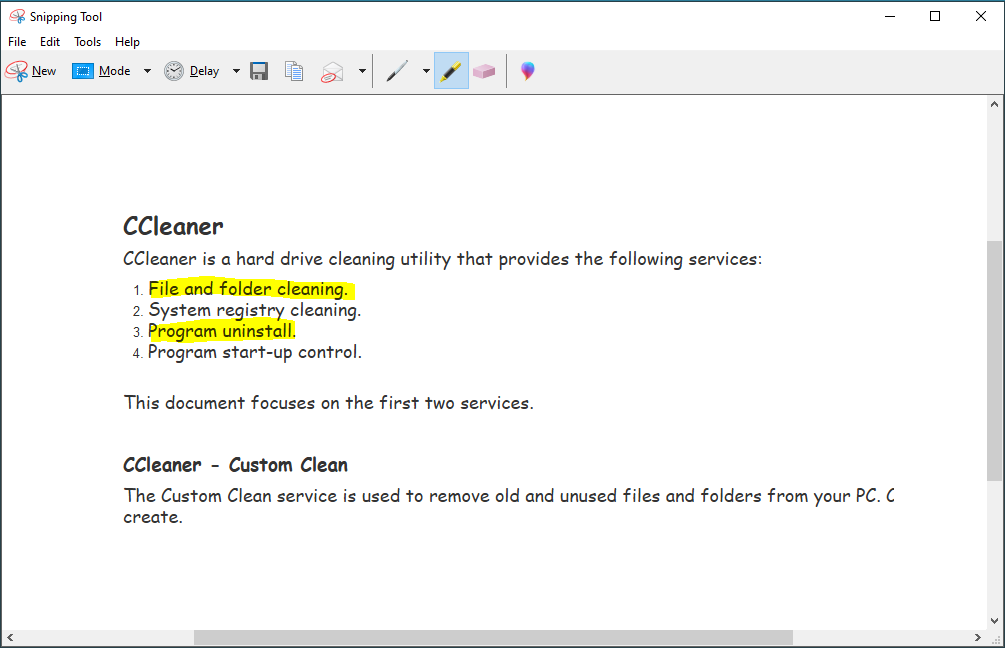
A Snipping Tool capture of a document from my website
Select the "Highlighter" icon 

To save the captured image select the "Save Snip" icon 

With this handy tool you can email someone exactly what you see on your screen. You can highlight areas of importance and make comments above or below the image just like its done here in this article.


